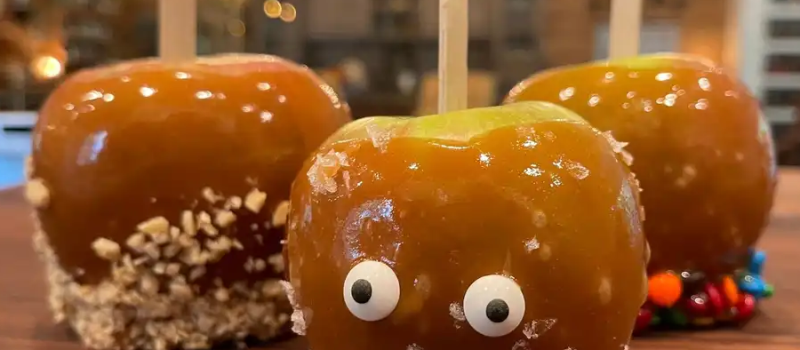
How to Make Caramel Apples
Best tips for perfect Caramel Apples
Choose small to medium apples. Large apples can become a bit too cumbersome to handle, especially if you decorate them.
Refrigerate the apples. Once the apples are prepped, pop them into the fridge. Cold apples make it easier for the caramel to cling.
Gather the tools for making homemade caramel before you start working on it. Once you put the caramel ingredients on the heat, you shouldn’t step away from your stove until it is ready. So, make sure you have a wooden spoon, candy thermometer, pastry brush, and a small bowl of water ready and nearby.
Use a wooden spoon to stir the caramel. Wooden spoons don’t conduct heat well, so it won’t affect the temperature of the caramel or burn your hands while you stir.
Use a heavy-bottomed pot. Pots that are too thin can cause the caramel to burn on the bottom and become bitter.
Invest in a candy thermometer. This inexpensive tool is vital for a perfectly cooked caramel. It removes all the guesswork and makes the whole process a lot less stressful.
Pop bubbles in the caramel coating. While bubbles in the caramel won’t affect the flavor of your caramel apple, they will affect the look. So pop them! It’s really easy to do by lightly blowing hot air over the coating with a hairdryer or heat gun right after dipping.
Don’t waste leftover caramel! Pour it onto parchment paper and shape the caramel into a fairly uniform log. Once the caramel has cooled completely, cut it into smaller pieces and enjoy delicious buttery caramel candies. Or, wrap each one in some parchment paper to eat later.
Gift caramel apples. Homemade gifts are a sweet and thoughtful way to show appreciation for the special people in your life. After the caramel has set, wrap the apple in cellophane and tie it securely with a cute ribbon. Voila! You have a handmade gift ready to deliver!


