How To Hang Holiday Lights
Decorating for the holidays is made fun again when you’ve got the tips and tricks to getting it done right. Check out our tips on hanging holiday lights safely, efficiently, and beautifully.
Map It Out
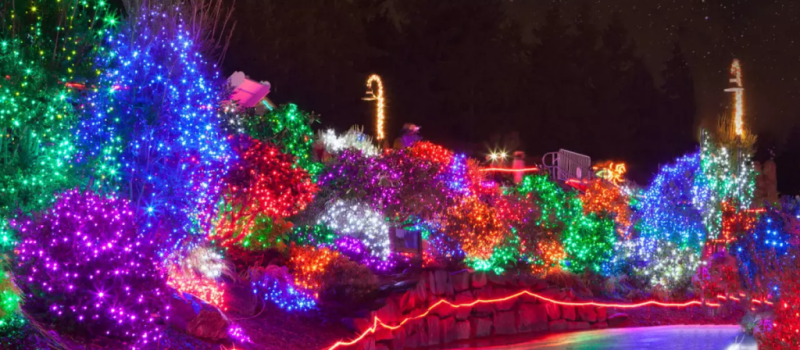
The first step to a great holiday home is to figure out how many lights you need. Measure windows, railings, roofs and more to understand the areas you want to cover in lights. For trees and shrubs we suggest 100 lights for every 1 and a half feet of shrub. If you are reusing lights, test them with your Gardner Bender Range Tester before hanging them up. Be sure to also check for signs of wear and tear as that could be hazardous to your setup. If there are broken or burnt out bulbs, get those replaced before going up on your home.
Clip It
From windows to railings, getting a variety of clips to suit the spot on your home is key to decorating with lights. Clips not only hold the lights in place you are also insuring the lights will avoid any wear and tear of being replaced next year. Space the clips about 8 inches apart to avoid drooping strands. Make sure you are using the right clip for the correct location. Roof line clips will work differently than window clips. Get the correct clip and you will avoid the headache of restringing your lights later. Do not use staples when attaching lights as they can damage the cords.
Hang The Lights
When placing the holiday lights in the clip, make sure the plug end is closest to the power source. This will help avoid cords being exposed around your decoration setup. Always use outdoor extension cords and outdoor power source. An outdoor timer is a great option to add to your connection to keep your lights on during your preferred display times.


